I have to mention...again....how excited I get whenever someone mentions the biscuit cheesecake so I am so happy that I get to share this one with all of you :) And here it is :)

As a city dweller I command a fairly small kitchen, meaning the use of
an oven usually entails me yanking it out of the cupboard, setting it on my
kitchen table and loosing that all-important working space. In addition, baking
is a more time-consuming endeavour, which is why after a long day during the
week I turn to a simple yet effective recipe: a delicious Estonian biscuit
cheesecake (also a great Fathers’ Day present, which we celebrate here today).
The recipe is suitable for bakers of all ages!
All-important ingredients (all depend on the size of the cake you make):
1.
Sour Cream
2.
Cheese curd (quark)
3.
Cocoa powder
4.
Biscuits
5.
Berries
6.
Juice
1. Decide on the
size of the cake you want to make and choose a suitable cake base, preferably
with higher edges, as the masterpiece will tower =)
2. Mix the cocoa
powder (preferably sweetened) with the sour cream (for the size of the cake I
made I used about 750g of sour cream; add the cocoa to taste)
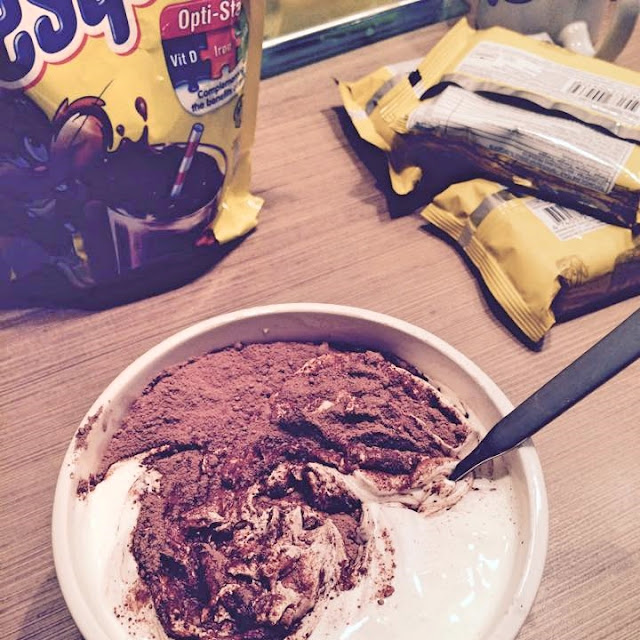

3. Use the mixture
to cover the base of your cake base. Be as generous as You want.


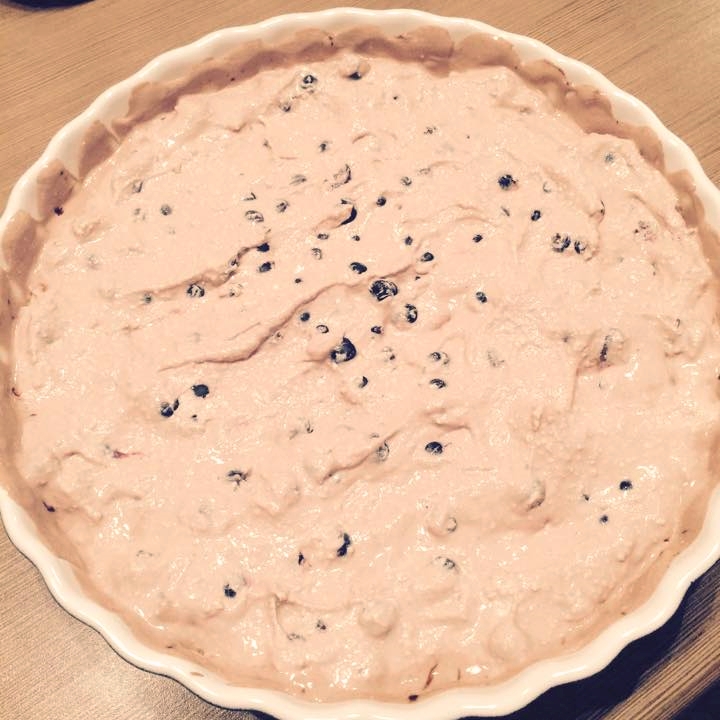
4. Mix together the
cheese curd + cocoa sour cream
mixture and add berries of your choice – blackcurrants are a personal favourite
of mine. (you can use different berries on different layers, like bananas and strawberries ...anything really)


5. Once the mixture
is done and the cake base ready you can start building the cake. Before
layering the biscuits I like to soak them in some orange juice. This allows the
biscuit to more easily absorb all the flavours of the cake and makes the
consistency more pleasurable.


6. Cover the
biscuits with your mixture of cheese cur, sour cream, cocoa and berries and
then add another layer of biscuits – I have chosen to use different flavour of
biscuits for varying layers.
Keep going till You’ve reached the desired height.
7. Once You’ve
finished, cover the entire cake with the sour cream cocoa mixture You used on
the base and cover the cake in its entirety. Design Your own topping and
decorate as you please.
Cover the cake and let is set in the fridge for overnight. However if
You’ve used plenty of cream and soaked your biscuits You can dig in after a few
hours!
There will be more posts from Kadi during the coming months (hopefully :D) In the meantime you can follow Us and Kadi on Instagram. You can also follow the blog on Bloglovin or you can just keep checking back :)
As always hope you enjoyed the post by the wonderful Kadi
AND
Stay tuned
xoxo
No comments:
Post a Comment