Wednesday, 11 November 2015

Recipe: Vegan Chocolate-Peanut Butter Cups


This weeks recipe comes to you from my lovely friend Jo who is passionate about making vegan food delicious :) Keep reading for a mouth watering peanut butter recipe that you can try out yourself. 


Chocolate-peanut butter cups ( no baking required!)

This lovely vegan dessert recipe is based on Reese's peanut butter cups


For the Peanut Butter Base: (Makes 6 big cups)


3/4 cups of roasted or raw almonds or almond pâté.
3/4 cups of medjool fresh dates
1/3 cup of dry oats
1/2 cup of all-natural peanut butter (or almond butter). 


Throw all the ingredients into a food processor or blender & pulse until everything is mixed together into a crumbly paste. Press the mixture down into your mini-size cupcake moulds...then place the tray in the freezer & allow them to set until firm


For the Dark Chocolate:


150g of dark vegan chocolate
Vanilla extract

Melt chocolate in hot water bath.
Add a little bit of vanilla extract and pour melted chocolate over the cupcake base. Leave in the fridge overnight or until chocolate is set and enjoy :)


JO Dampf

It's all about happiness, love, vegan food, health, fashion and style! I am in charge how I feel today and today I'm choosing happiness !


Stay tuned for more vegan recipes from Jo during this month, every Wednesday :) And you can also follow her on her Instagram  account for fashion inspiration and vegan food heaven :)

Tuesday, 10 November 2015

Easy DIY Christmas Centerpiece

Good Evening, Everyone :)
Tonight I am sharing an easy and affordable Christmas/Festive centrepiece you can make with things you probably already have or can get very easily. Hope you enjoy and give it a go.

Things you need

1. Some pinecones ( I got mine from Homebargains, they were in a massive bag called poupurri (I beg to differ) :D they don't have any scent to them but they were £2.99 and I got them for the reason of using them as decorations anyway rather than use the pack as poupurri. You can definitely just go and pick them yourself...unfortunately I couldn't find any pine trees....ANYWHERE...
2. Small baubles ( the ones I used are from John Lewis and they were £5.99 if I remember correctly...I probably don't as I bought them over a month ago)
3. flat ornaments. I picked out these silver star tree decorations from Homebase and they were £2.99 for a pack of 20 (maybe they were £3.99)

4. A big dinner plate
5.A candle ( This amazing candle is from TkMaxx and it was only £7.99 :O You don't get much better than that I think) 
You can also use a simple white (or whatever colour you like) because the garland/centrepiece itself is already quite festive.

Honestly I'm not too good at remembering prices as I've just realised. But it's because none of these things were expensive. I'm sure I would remember paying £20 for Christmas tree decorations :D

And then what you do is just place the candle in the middle of the plate and arrange all the decorations around it :) It's so simple and it's just beautiful. I do like long centrepieces, but I also like having food on the table during Christmas dinner, so I think something beautiful just at the centre of the table does the trick. 


Hope you enjoyed this little Christmas post....I know it might be too early for some. But if you have a child or children or dog or donkeys you just find that planning your time and doing things ahead of time saves you a lot of stress later :)
Let me know what you think and if you're going to try some diy Christmas decorations yourself :)
And as always stay tuned. Tomorrow I will share another vegan recipe by Jo :)
xoxo
Meril

Sunday, 8 November 2015

Estonian Biscuit Cheesecake

Good Morning, Everyone. I am very excited to share an amazing cookie cake recipe by my lovely friend Kadi :) Making no bake biscuit cakes is kind of a big deal in Estonia :D Everyone knows what you mean the minute you mention it so now you too can be in the know.
I have to mention...again....how excited I get whenever someone mentions the biscuit cheesecake so I am so happy that I get to share this one with all of you :) And here it is :)

As a city dweller I command a fairly small kitchen, meaning the use of an oven usually entails me yanking it out of the cupboard, setting it on my kitchen table and loosing that all-important working space. In addition, baking is a more time-consuming endeavour, which is why after a long day during the week I turn to a simple yet effective recipe: a delicious Estonian biscuit cheesecake (also a great Fathers’ Day present, which we celebrate here today).

The recipe is suitable for bakers of all ages!

All-important ingredients (all depend on the size of the cake you make): 

1.       Sour Cream
2.       Cheese curd (quark)
3.       Cocoa powder
4.       Biscuits
5.       Berries
6.       Juice

1. Decide on the size of the cake you want to make and choose a suitable cake base, preferably with higher edges, as the masterpiece will tower =)

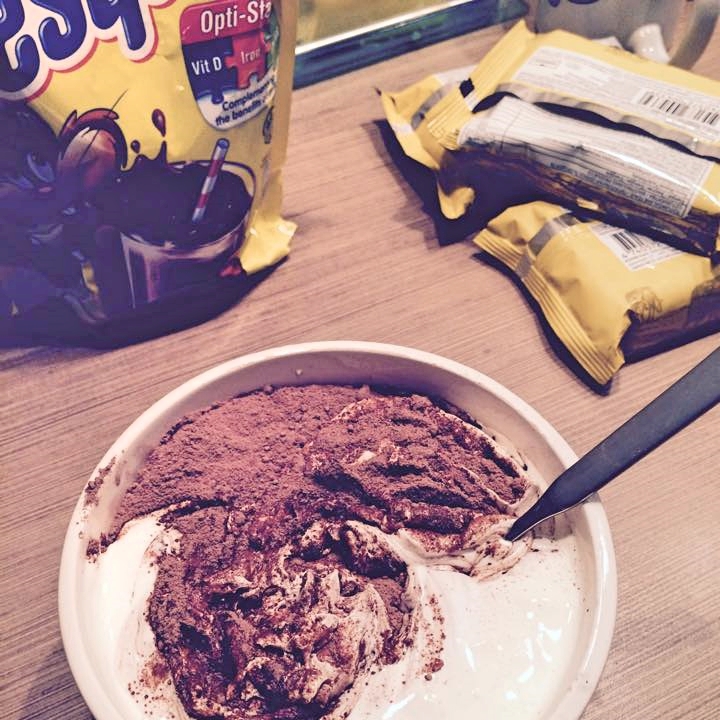
2. Mix the cocoa powder (preferably sweetened) with the sour cream (for the size of the cake I made I used about 750g of sour cream; add the cocoa to taste)
3. Use the mixture to cover the base of your cake base. Be as generous as You want.
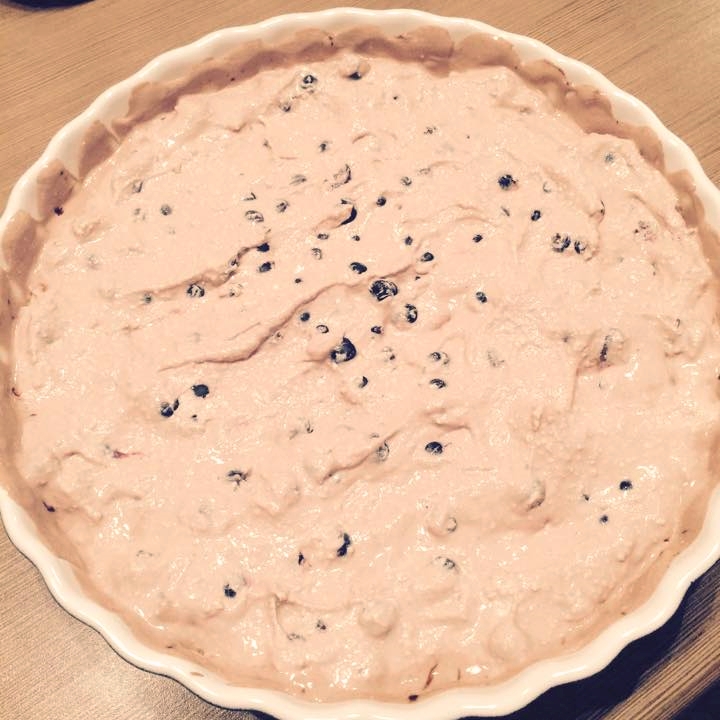
4. Mix together the cheese curd + cocoa sour        cream mixture and add berries of your choice – blackcurrants are a personal favourite of mine. (you can use different berries on different layers, like bananas and strawberries ...anything really)
5. Once the mixture is done and the cake base ready you can start building the cake. Before layering the biscuits I like to soak them in some orange juice. This allows the biscuit to more easily absorb all the flavours of the cake and makes the consistency more pleasurable.

6. Cover the biscuits with your mixture of cheese cur, sour cream, cocoa and berries and then add another layer of biscuits – I have chosen to use different flavour of biscuits for varying layers.
Keep going till You’ve reached the desired height.

7. Once You’ve finished, cover the entire cake with the sour cream cocoa mixture You used on the base and cover the cake in its entirety. Design Your own topping and decorate as you please. 

Cover the cake and let is set in the fridge for overnight. However if You’ve used plenty of cream and soaked your biscuits You can dig in after a few hours!

There will be more posts from Kadi during the coming months (hopefully :D) In the meantime you can follow Us and Kadi on Instagram. You can also follow the blog on Bloglovin or you can just keep checking back :)
As always hope you enjoyed the post by the wonderful Kadi 
AND 
Stay tuned
xoxo